Whether you’re simply refreshing or completely redesigning your bathroom, there is a right and a wrong way to install the tile. Managing tile installation is a lot like following GPS when you’re on a road trip: If you go rogue, you can end up in place you don’t really want to be.
Our team at Dover Flooring & Tile Center follows industry best practices put in place by tile manufacturers which ensure that we achieve the best results every time.
9 Steps for a Professional Bathroom Tile Installation
1. Start With a Plan
Before beginning a project, we consider the new space and how it will be laid out. Will shower dimensions change? Is the showerhead moving from the wall to overhead? Are we including built-in storage niches? Will the vanity remain in the same place? The answers to these questions will impact the framing and the plumbing and electrical locations.
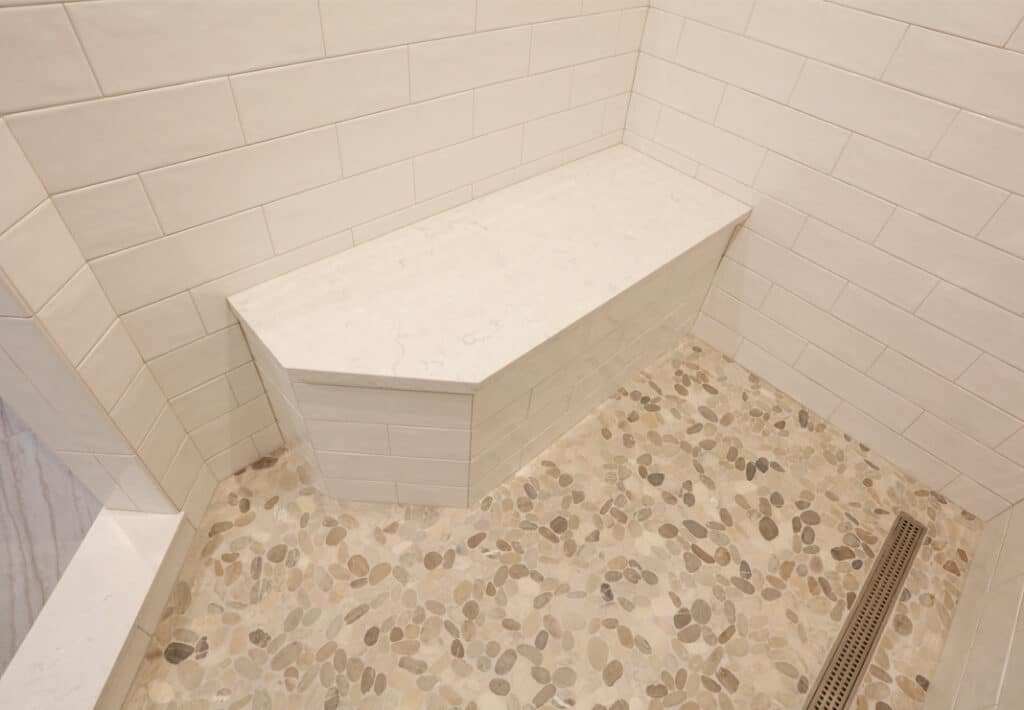
Don’t forget drain placement. Aesthetically, the drain should be in the center of the shower enclosure. If we’re enlarging the space or installing a seat, this will impact drain placement. To avoid any costly changes, we always start with detailed plans.
2. Remove Old Bathroom Framework
When replacing an existing shower or tub enclosure, the rule of thumb is to rip out all existing structures down to the studs and subfloor. This affords a clear picture of the space we’ve got to work with and can help with identifying any underlying issues.
Before we start building back, this is the ideal time to evaluate plumbing and replace, if needed, any old or clogged traps, drains, valves, pipes, etc.
3. Ensure Existing Surfaces are Flat
We always make sure that we’re working on a flat surface — both on the floor and in the shower. Quality tile installations start with a plumb, level structure. There is an acceptable tolerance in the building industry; however, installing tile over a surface that exceeds that tolerance can seriously impact the performance, function, general maintenance and overall lifespan of tile installation.
4. Eliminate the Potential for Water to Collect
When installing any horizontal surface in a shower, perfectly level doesn’t mean perfect. Level surfaces can promote mold and mildew problems. For best results, we build the seat — or any flat surface for that matter — so that it includes a slight pitch forward to allow for proper drainage. We assess placement and structure of seats, recessed niches and curbs to ensure they won’t trap and hold water.
5. Waterproof the Substructure.
It is vitally important to properly install a waterproof barrier to avoid mold and mildew growth in the shower. Our team follows best-practice installation guidelines from Schluter to ensure a water-tight tile finish.
6. Use Quality Grout
Low-end grouts absorb moisture like a sponge. As a rule, we use a premium product that has the proper chemistry for color uniformity, moisture resistance and absorption which delivers excellent, long-term performance — and doesn’t require a sealer.
7. Choose the Proper Tile-setting Product
Mastic tile adhesive (glue) is generally used for wall tile installations where there isn’t a constant presence of moisture, like a kitchen backsplash. The organic property of most mastics will promote mold and mildew growth and should not be used to set tile inside of a shower. For that reason, we use a quality, cement-based thin-set mortar — it’s the best for strength and durability on a floor tile installation, as well as in high-moisture areas like shower enclosures.
With using natural stone, white or lighter-colored marble can be translucent, so a dark mortar can shade or cloud the stone from the backside. Instead, we use a white premium-grade, thin-set mortar for a clean, crisp finish for marble or other natural stone installations.
8. Design the Layout
When installing shower wall tiles, we always plan our layout first. There are many variables when determining a layout — sight lines, patterns and homeowner preference all come into play. After we confirm the layout, we follow strict installation practices that start with finding the vertical and horizontal center of the wall. The midpoint might be a grout line or the middle of a tile. Next, we extend the measurement of the tile (including the grout line) to the furthest point, then evaluate and adjust as necessary.
9. Create Smooth Transitions.
As mentioned earlier, the industry best practice is to take the surface down to the original sub-floor before installing new tile flooring — this helps ensure a structurally sound installation and minimizes variations in flooring height between rooms. Thin layers of flooring, linoleum, vinyl sheet flooring, etc., are flexible and therefore are not recommended to be left in place when installing porcelain tile.
If there’s an existing solid hardwood floor, our best approach is to either lay over the surface with a ½” layer of plywood (to control expansion) prior to tile installation or remove the solid hardwood and replace it with a layer of ¾” plywood.
As with any floor, we consider the finished height of the new flooring, accounting for the layers below, and then plan accordingly. With more extreme height differences, stopping the tile towards the inside of the door opening allows for a wider (often custom-made) wood transition to make the elevation change more gradual.
Installing tile required planning and precision. That’s why tackling a challenging home improvement project like a bathroom renovation benefits from reaching out to a pro for help.
We put our experience and skill to work for you so you can be sure to enjoy the best possible results.
If you’ve got bathroom remodeling questions, stop by the Dover Tile & Flooring Center. We’re here to help.
Tschaun Procaccini


